Michael Cohen did a fantastic electrical installation in his RIGA Greenhouseand forwarded some images with descriptions to share
Do you have a modification idea for your greenhouse but not sure if it will work? Give us a call at (512) 407-8500 extension 701 to speak to one of our greenhouse experts. We've seen all kinds of modifications and customizations and will be glad to help.
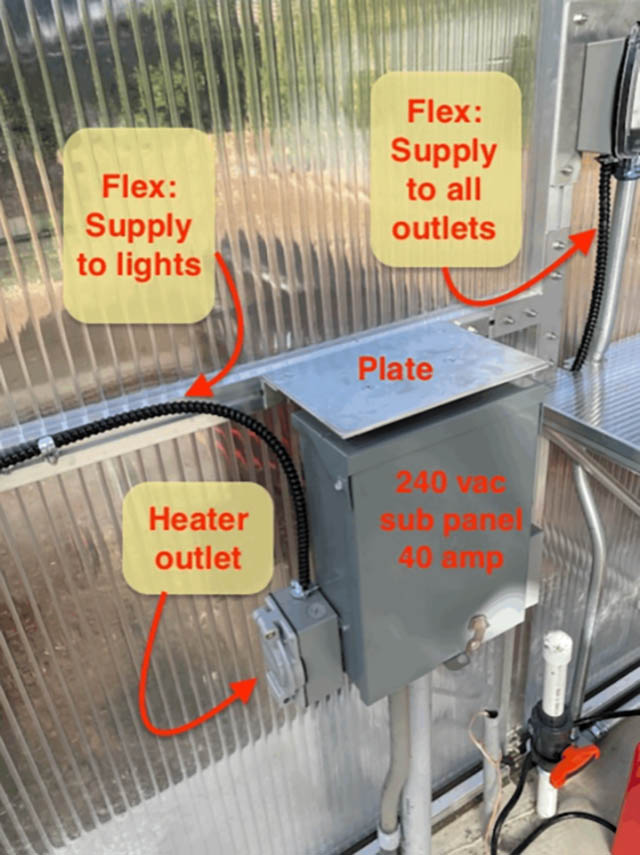
Used black Flex Seal, I had from another project, to seal the flex conduit. The light switch is an Insteon I3 paddle which can be remote controlled via an automation controller. Plate serves two purposes - ties sub panel to greenhouse cross bar, and will be a cooling platform for eero mesh wifi extender. Most people likely wouldn’t want this, but we want both cameras in the greenhouse for controlling remote watering, plus brings stronger wifi signal to this area.
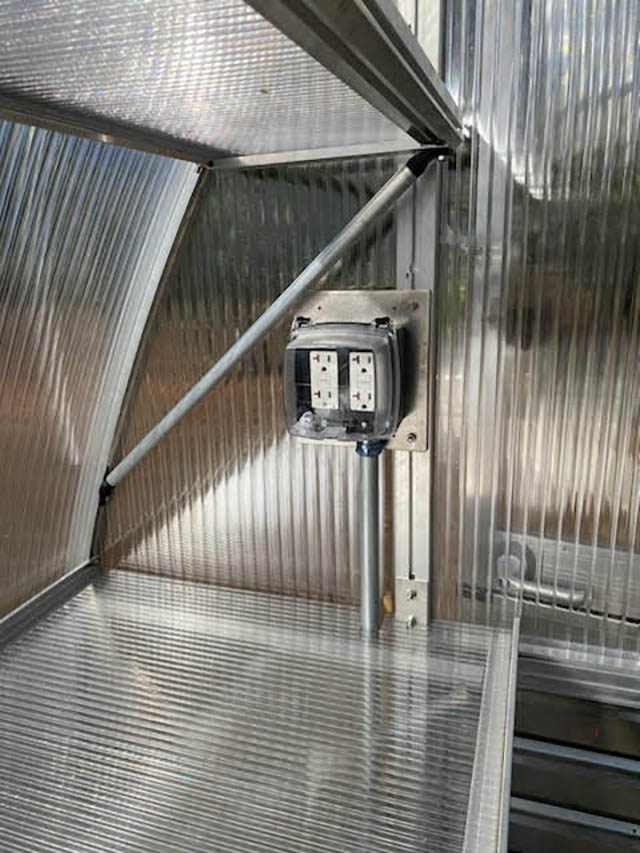
Four general purpose outlets each corner.
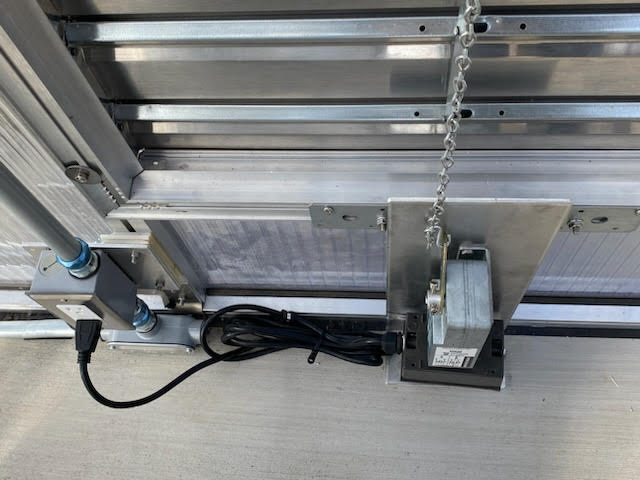
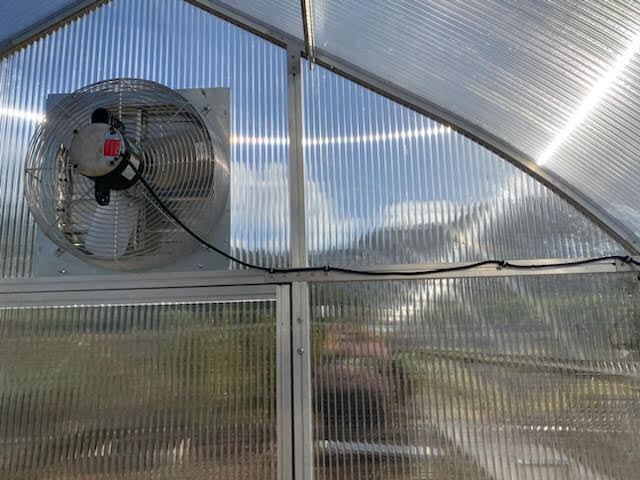
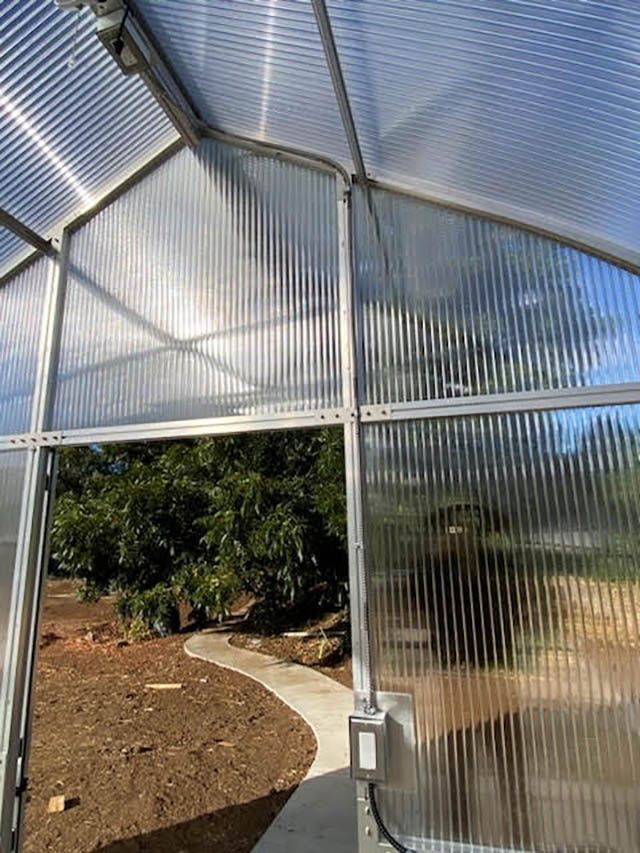
Switched power for vent
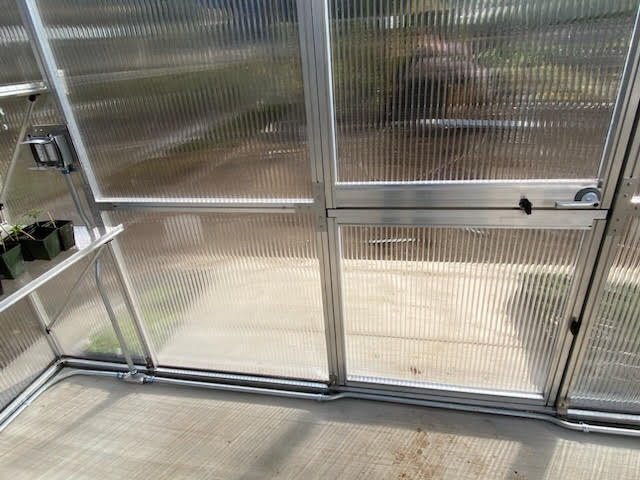
Routing of cord using 3/8" stainless steel cable clamps

The single outlet box feeds power to the Thermo 2. The output is split to the fan, and routed to the vent louvers via the top of the single gang box, double gang box and through conduit on the south side of the greenhouse.
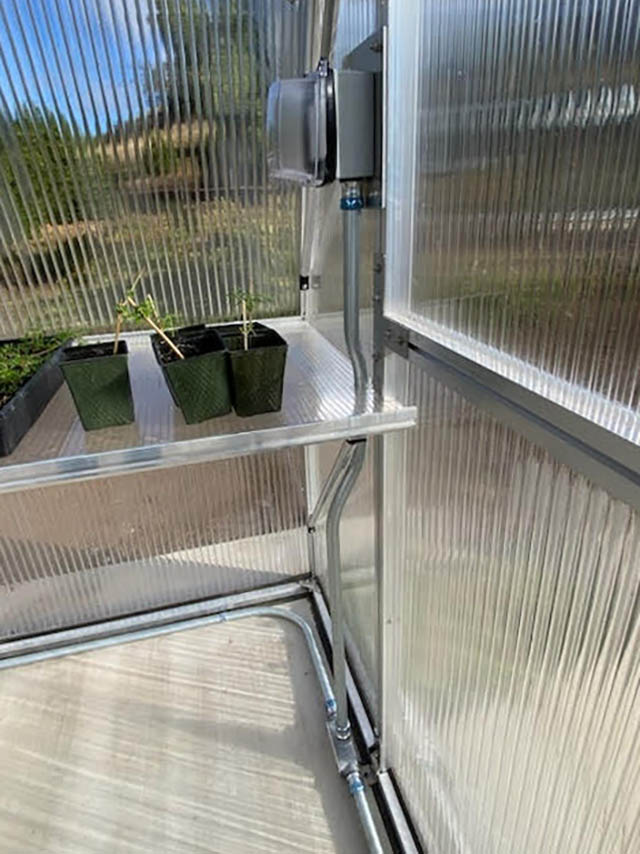
Showing conduit bends - leaving space to maintain the floor profile bracket if needed. Also shows the 4 point saddle bends of the vertical section of conduit.
Did a 4 point saddle to bring the conduit close to the door opening
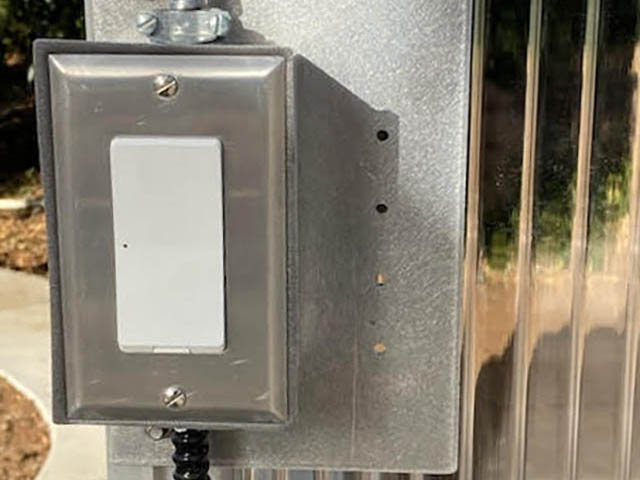
Close up of the light switch. I didn’t seal the flex above the light switch - thinking won’t be washing down anything that high - may need to revisit if we find we wash down the whole greenhouse. The flex conduit is oriented to shed condensate away without penetrating the conduit.
Light switch
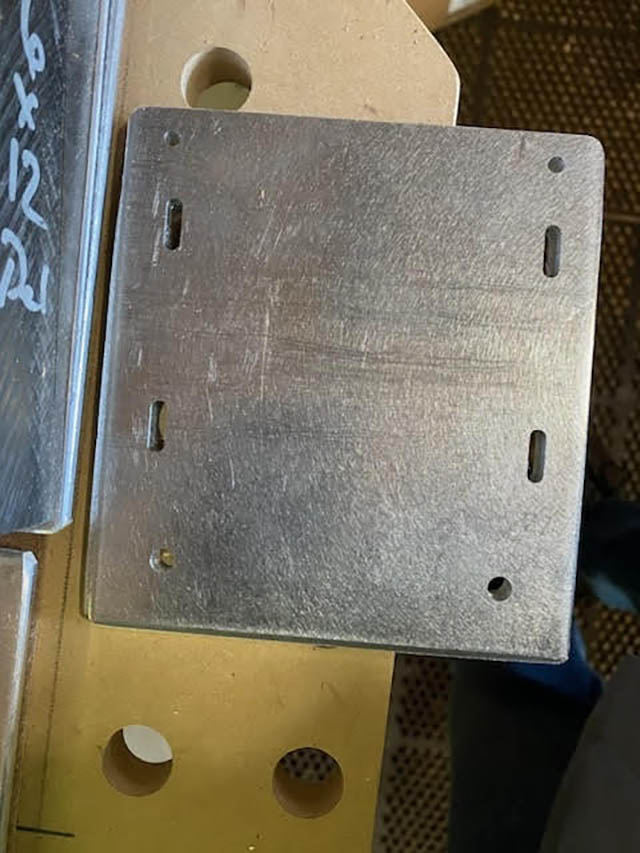
Used slotted holes in a couple locations to add adjustability where we had boxes stacked above each other - like the fan power outlet just above the 2 gang outlet box.
Back side of the plate, which is in contact with the greenhouse channel - Counter sunk holes wherever the mounting screws so the plate would sit flat on greenhouse vertical members. Used 8-32 x 1/2” thread cutting screws for the other two holes
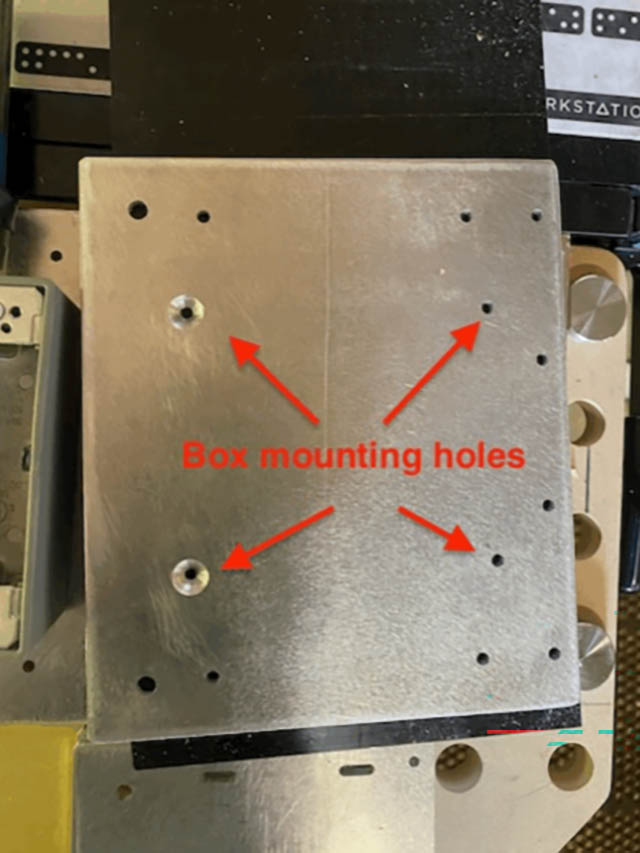
Using the light switch plate a drill guide for inserting 6 mm bolts into the channel
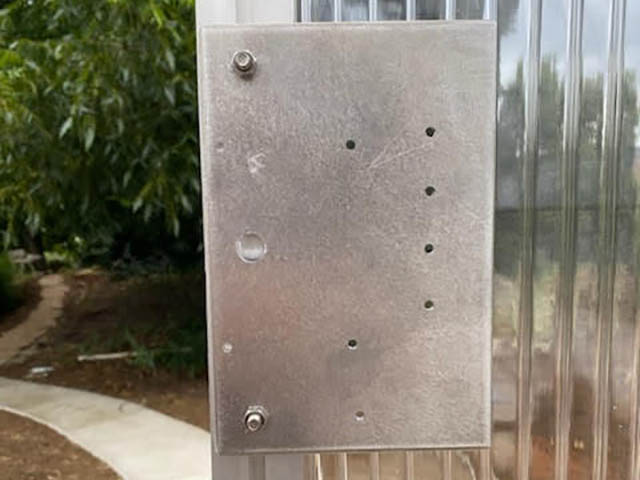
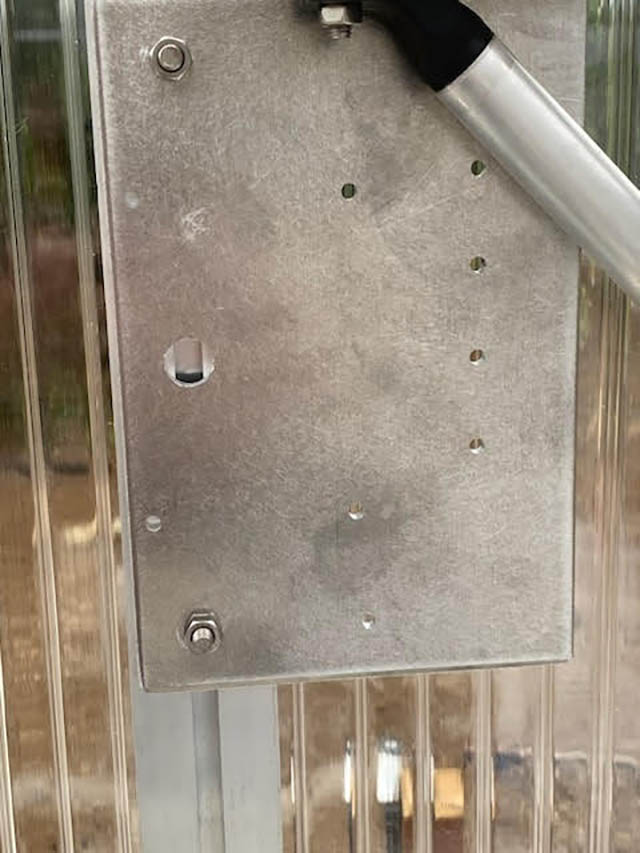
Installed plate
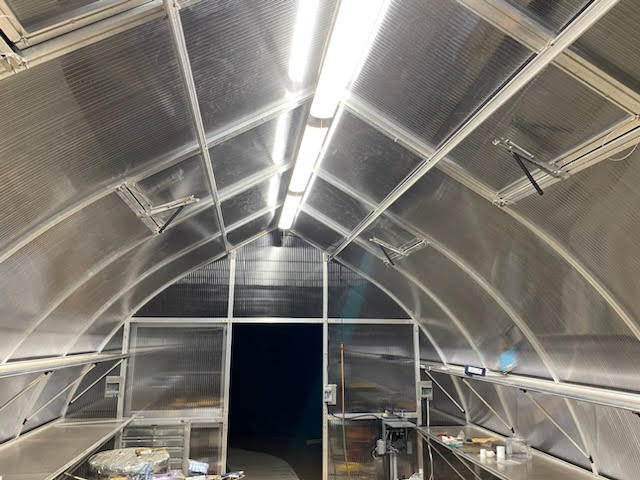
Lighting at night